About Us
Advertise With Us
RSS Feed | Content Syndication
Terms & Conditions
Privacy Policy
Contact Us
BollywoodShaadis.com © 2025, Red Hot Web Gems (I) Pvt Ltd, All Rights Reserved.
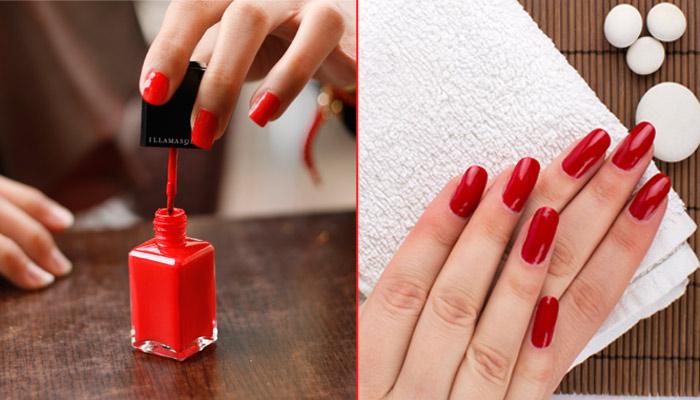
Every woman loves to paint her nails to make her hands look prettier. There are ample colour options available in the markets which are perfect to complete any kind of look. Our artistic side kicks in when we talk about applying nail paint.
Although we all love our colourful fingertips, applying nail paint seems like a task to some. Well, if you will follow these simple steps, it won’t be the same story!
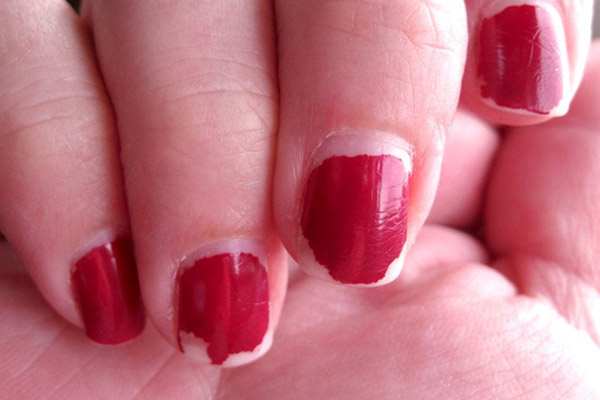
We are all guilty of going days without removing that old and chipped nail paint. At times, we even put a new one on it! Let bygones be bygones. If you want to have those perfectly painted nails, get rid of the residue of your older nail paint before applying a new one.
Recommended Read: 7 Efficient Ways To Stop Your Nails From Curling
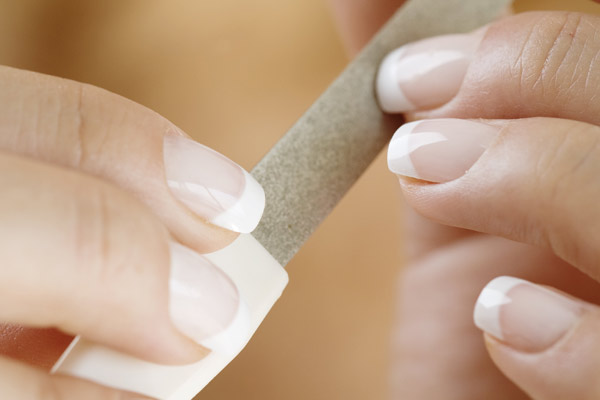
Before you start putting on the nail paint, prepare your nails. Trim and file them to give them the shape that you want. Get rid of the uneven edges. You should also clean and moisturise your nails as these things can make your hands look hygienic.
Continue reading below
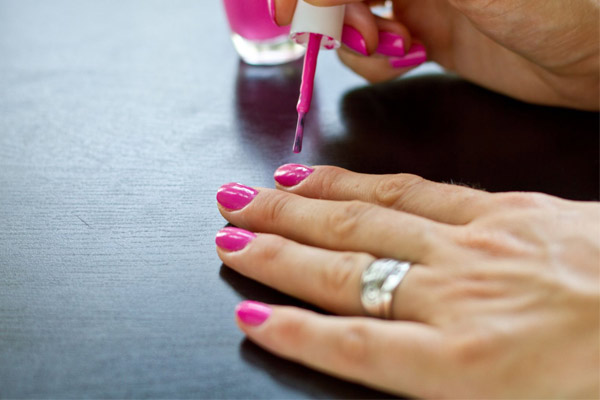
If you want those salon perfect nails, stick to the '3 coat' trick. Take nail paint in your brush and start from the middle. Let the first stroke do the maximum amount of work and use the other two strokes to fill the edges. Make sure that the last two coats are thinner.
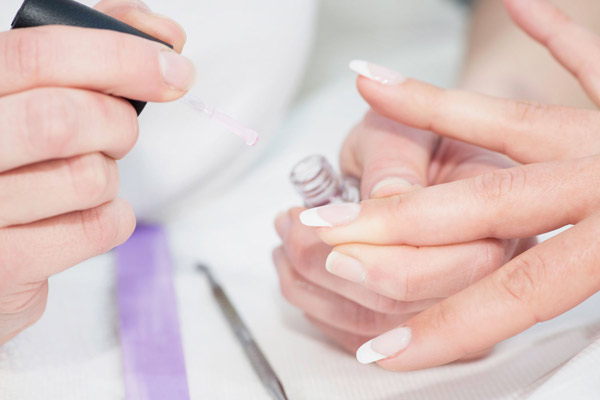
Using base coat makes applying the nail paint easier. Base coat helps you in many ways. Like, if your nails are darker, the base coat acts as a concealer and the original colour of your nail paint isn’t fabricated by the colour of your nails. It also protects your nails against the chemicals present in the darker shades like blue and black.
Must Read: How To Choose Perfect Nail Colours For Your Skin Tone
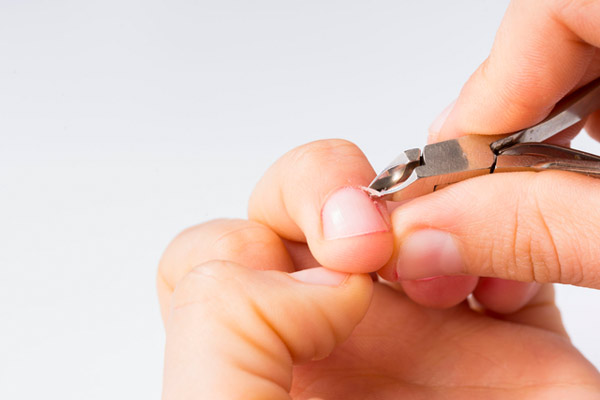
While trimming and filing your nails you should have a look at your cuticles as well. Use cuticle oil to soften them and then use a cuticle remover. Your nails will look cleaner without that damaged skin that hangs on the nails. But, don’t be hard on them as that can cause injury!

Shortcuts come with their own costs. Quick dry nail paints sound tempting but they seldom give you that perfect and smooth finish that normal nail paints do. Before you can apply a second stroke, the first one dries out and makes the nail paint look uneven.
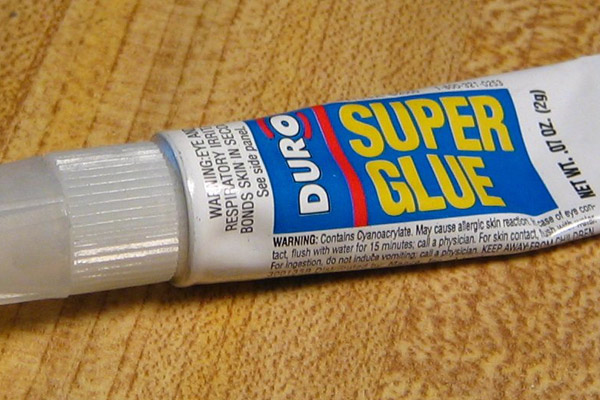
If you are a messy artist, use glue to avoid getting the paint on the skin around your nails. Before you start putting on the nail paint, apply some glue on the area around your nail and let it dry. If some of the paint spills, it will get only on the glue which can be peeled off later on.
You may like: 14 Tips To Take Good Care Of Your Beautiful Nails
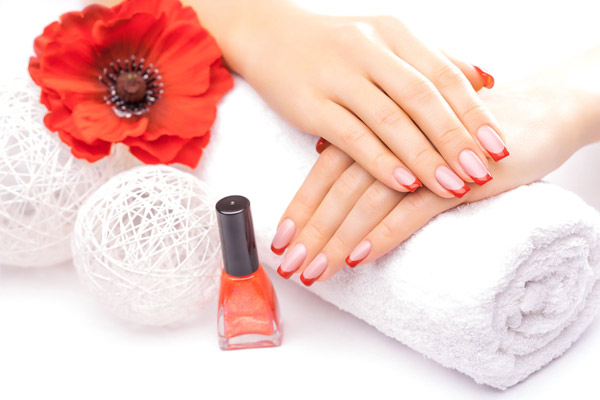
Thin coats dry easily and look finished. Thick coats not only take a lot of time to set but sometimes, they don’t even dry out completely. So, stick to thin coats. In case you want the colour to be more prominent, apply the first coat, let it set and then apply another coat on it.
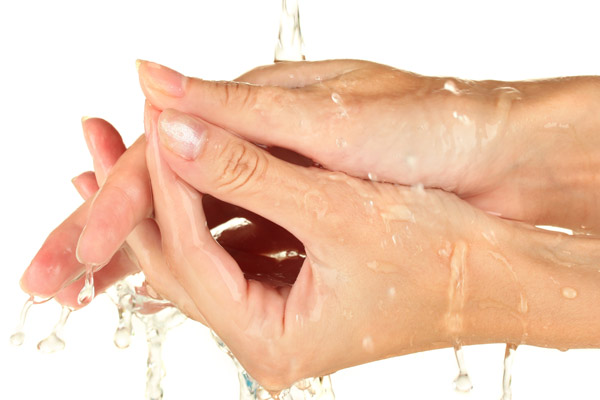
If you are in a hurry, instead of quick dry nail paints, try cold water. Apply the nail paint that you want and then dip your hands in a bowl of cold water. It will quickly dry the nail paint and you are good to go!
Next Read: 22 Beauty And Makeup Hacks That Every Girl Must Know
Now, you don’t need to rush to a salon to have those picture perfect fingernails. With some patience and efforts, you will be able to master the art of applying nail paint in no time. Good luck!
advertisement
advertisement
advertisement
