About Us
Advertise With Us
RSS Feed | Content Syndication
Terms & Conditions
Privacy Policy
Contact Us
BollywoodShaadis.com © 2025, Red Hot Web Gems (I) Pvt Ltd, All Rights Reserved.

In an environment with clouds of pollution and air of dust, keeping skin healthy is not cakewalk. Blackheads, tanning and pimples; they haunt all of us. We all want to look our best, but we seldom do anything about it. We fix an appointment with the best salon with utmost dedication and that is it. But, do you really think it is necessary to go to the salon for everything?
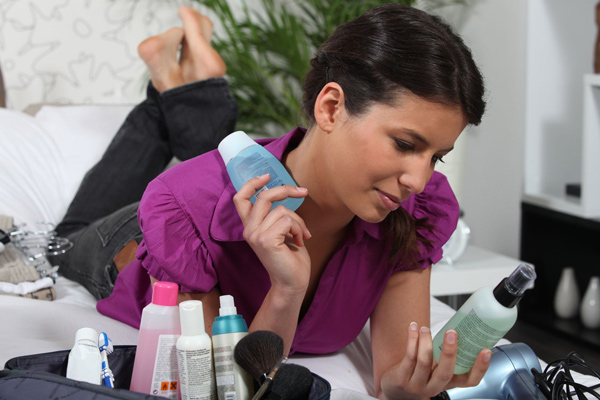
Now you do not need to go anywhere to have that amazing skin. Follow these simple steps and you can do your facial at home, all by yourself.
Recommended Read: 11 Rare And Shocking Side Effects Of Amla That You Definitely Did Not Know About

The first step of a facial is to clean your skin thoroughly. It needs to be free of bigger pollutants so that the minute ones can be acted upon. You can do it with cleansing milk and face wash. Wash your face with a face wash to make it free of oil and dirt. Next, put some cleansing milk on a cotton pad and wipe your face with it. Then rinse again with normal water. Avoid hot water as it can make your skin dry.

Dab your face with a soft towel and begin the process of scrubbing. It is important to exfoliate your skin on a regular basis to get rid of dead skin and tanning. Scrubbing is imperative if you have blackheads. Apply scrub on your face using your fingers, gently moving them in a circular manner. Avoid the delicate area near the eyes. Massage for 5 minutes and rinse with cold water.
If you have sensitive skin, you can make your own scrub. Mix equal parts of honey and sugar to make your scrub. If you are more prone to tanning, make your scrub by mixing curd and gram flour in equal proportions.
Continue reading below
You Might Like: Amazing Benefits Of Gooseberry (Amla) For Your Hair, Skin And Health

Toning is a step that we generally skip but really should not. Scrubbing leaves our pores open making us susceptible to acne. You should use a toner immediately after scrubbing because open pores look worse than blackheads. If you do not have a toner, you can make one at home. Boil some neem and mint leaves in 2 cups of water. When the water is reduced to 1 cup, rinse it and let it cool. Soak a cotton pad in it and gently apply it on your face.

A face pack is essential as it hydrates your skin and is very relaxing. If you want that baby soft skin, you need a moisturising face pack. Even if your skin is oily, a face pack is must. You can buy any face pack according to your skin type, but if you want to keep it simple, fuller's earth (multani mitti) makes a great face pack as well.

This is the final step of your face clean up routine, which should be followed every day religiously. It does not matter whether it is the day of the clean up or a regular day, moisturisation, especially before hitting the bed is very important. Those with oily skin can opt for a water-based moisturiser and for normal to dry skin, milk-based moisturiser would be the best. However, try to avoid alcohol based creams.
Recommended Read: DIY Hair Serum Recipes To Fight Frizz This Winter Season
Little efforts can make your skin look youthful and bright. A properly nourished skin gives your confidence a boost as well. By spending barely 15 minutes, once a week, you can have healthy skin without even stepping outside of your house.
